We'd love to hear from you
Please fill out the form below, and our team will get back to you promptly. Your questions and comments help us improve and serve you better.
Hardwood floor installations are best done by a professional renovation and remodeling service. It’ll save you much time and frustration, not to mention the money spent in repairing damage all-too-often wrought by laypeople when attempting this extensive home renovation project. It’s one of the more difficult projects, requiring weeks’ worth of time and much patience. However, it always pays off.
Why install a hardwood floor? Being that they are much easier to vacuum, mop and clean, there are of course convenience factors to consider. But there is also something homely and old-fashioned about hardwood. It’s a bit nostalgic, and also a great long-term investment. To take just one example: imagine the plummeting resale value of a carpet that’s been stained and scratched by household pets!
 Selecting the Hardwood Floor
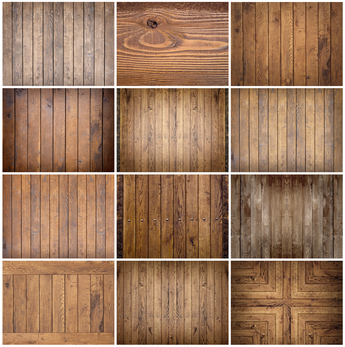
The first step in any hardwood floor installation is choosing your flooring. There are a variety of different textures (pictured on the left), as well as stain colors, thickness and other options. Keep in mind that:
Next, the room will be measured in order to determine the cut and dimensions of your hardwood floor. Before we proceed, we must also take certain measures against the irritating squeaks and creeks that often accompany hardwood. We clean the sub-floor, fix a substrate on the joists, and install a small barrier between the floor and sub-floor that also prevents moisture from permeating the wood membranes.
The last thing to be done before a hardwood floor installation is determining the layout. 4 out of 5 times, the floor is installed at a 90° angle to the joists, as the joists provide sturdiness this way. However, there are cases when we are able to install parallel to the joists (especially on the first story or on a ranch floor plan).
We lay several planks as according to the floor layout, starting from the inside and working our way out. This manner of installation is necessary because the last rows of wood will need to be top nailed, which requires pre-drilling and frequently nailing them in by hand. Before we finish, we always make sure to inspect your new hardwood floor installation for any marks or stains and repair them right then and there. We’ll even add some paint or a matching molding just for your pleasure!